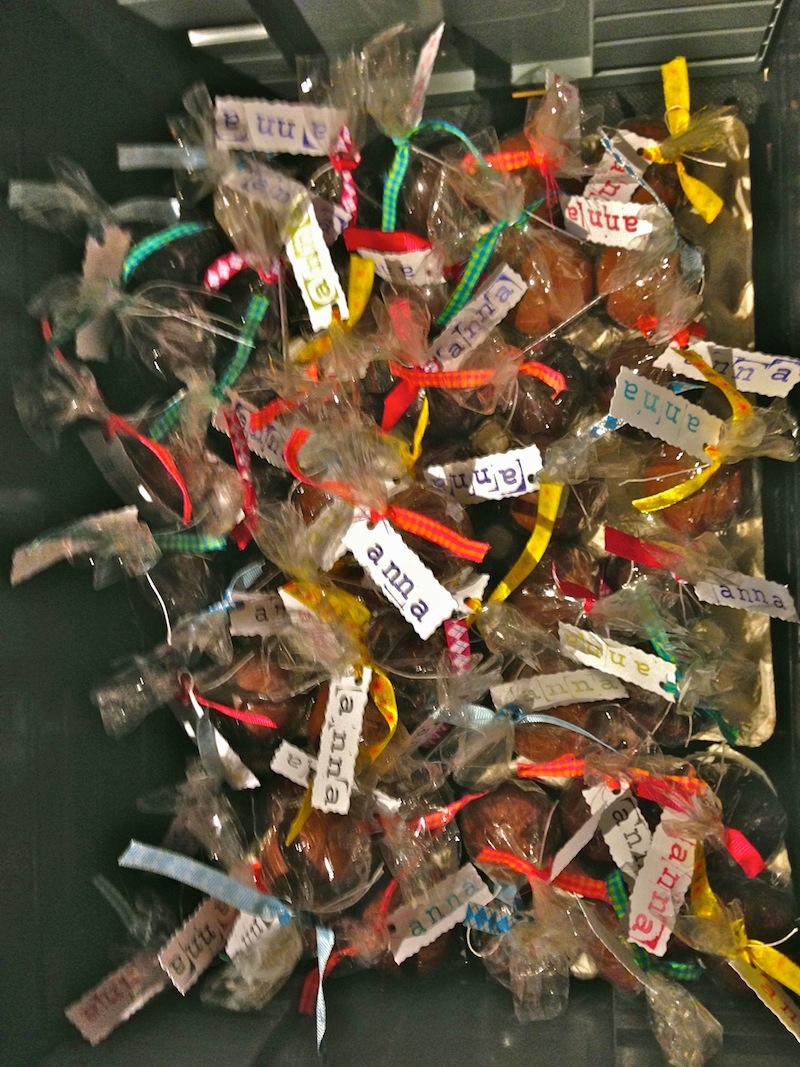
My sister told us last October that she was going to have a baby. Everyone was really excited; it was going to be the first baby in the family and the first grandchild for my parents.
In Belgium there is a tradition of giving ‘sugar beans’ to people when a child is born or baptised. Originally these were sugar-coated almonds, but these days they are more usually sugar-coated chocolates of the same shape and size. Handing out sugar beans symbolises the fruits of a fertile marriage.
My sister and her husband, however, wanted something a little more personal to give to people. They knew I was studying to be a chocolatier so they asked me if I wanted to design something for after the birth of their baby to give to family and friends.
We put our thinking caps on and went to Chocolate World in Antwerp to have a look at their collection of moulds for some inspiration. It didn’t take long for us to find what we wanted.
CHOCOLATE GLOBES
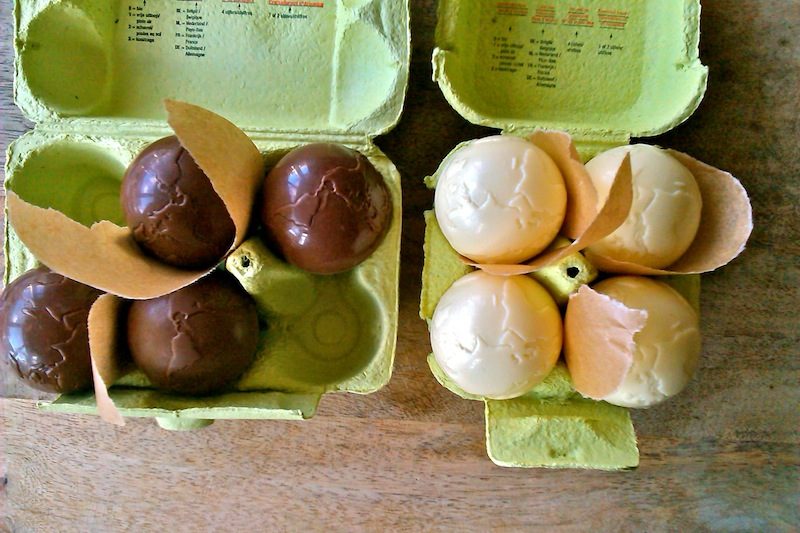
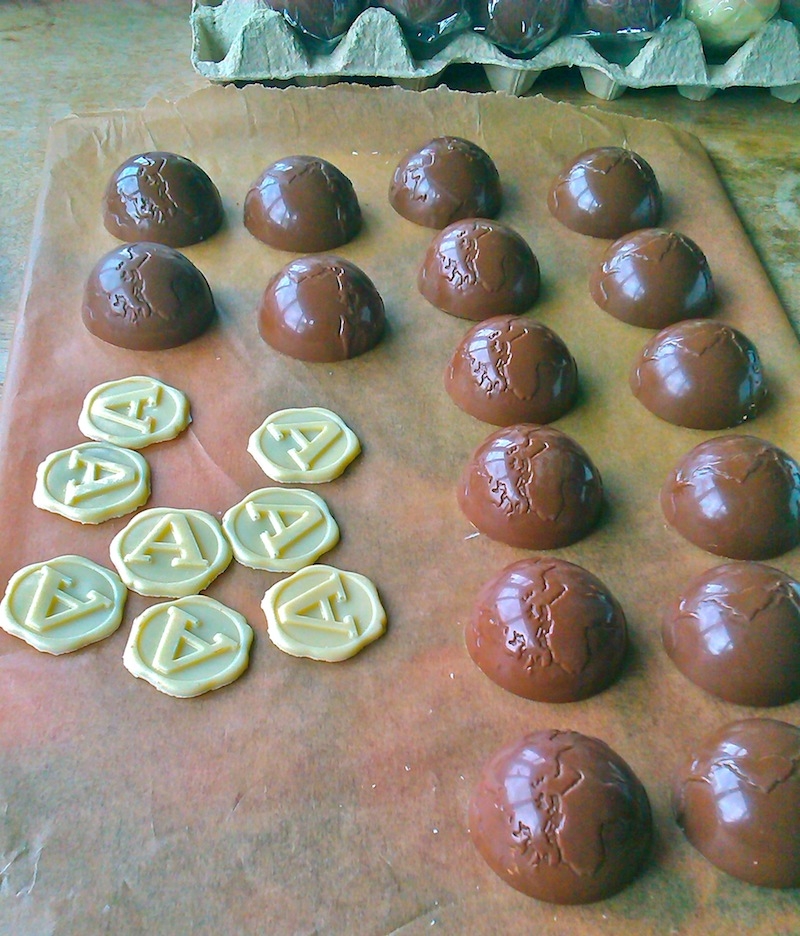
Both my sister and her husband love travelling and have worked on projects all over the world. So why not make a chocolate globe for their new adventure to come? They also wanted a chocolate letter inside the globe which would be the first letter of the baby’s name. They didn’t want to give the name away just yet, so we ended up buying moulds for the globes and moulds with the letter ‘A’. Mmmmm. I was curious.
TIME TO START TEMPERING
And so the process of chocolate making began. If you want to make chocolate, you need one thing: time!
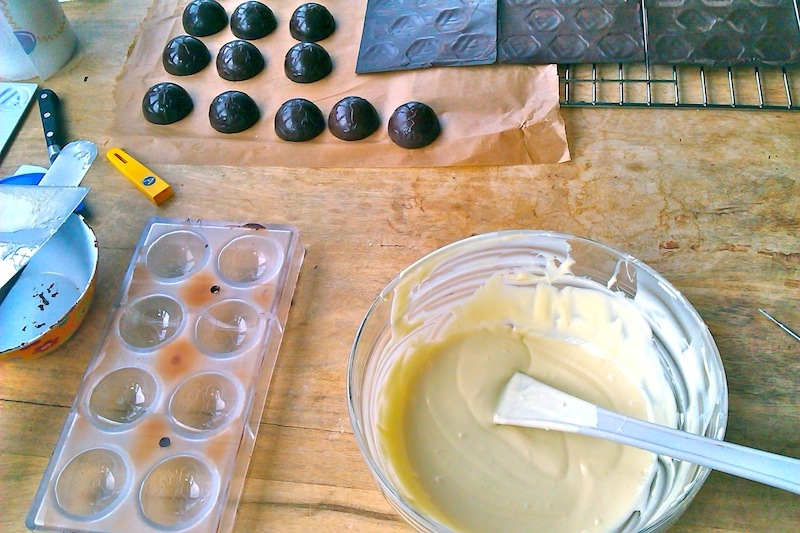
As I don’t have any tempering machines I was tempering the chocolate by hand on a marble surface, a time consuming process as I only had two globe moulds so I had to work with small amounts of chocolate and carry out the same process over and over again: Melting chocolate, cleaning moulds, tempering chocolate, filling moulds, cooling them, taking out the half globes and back to melting chocolate.
POURING THE MOULDS
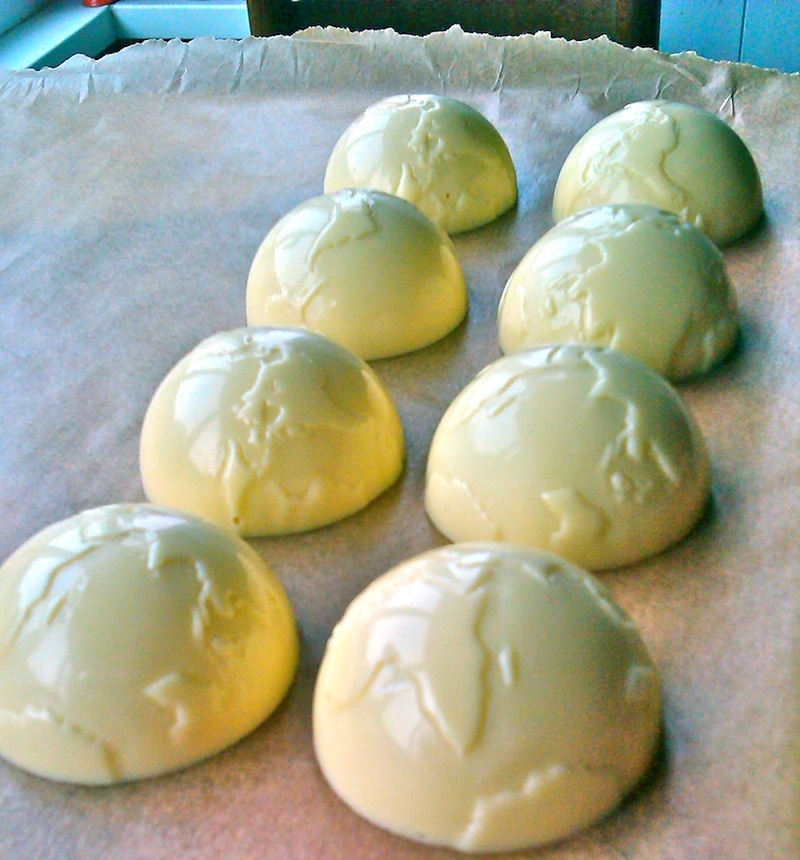
I poured the letter moulds separately and used different chocolates for both the globes and the letters. I thought it would be nice to combine a dark chocolate globe with a white chocolate letter inside. I also made a few globes with two halves in a different colour of chocolate.
MATCHING THE CONTINENTS
When I had the two halves of the globe, I still needed to put them together with the letter inside. That was probably the trickiest part of the process.
It is best to use a flat tray (I used the bottom bit of a spring tin) and heat it up in the oven. I briefly put the two halves of the globe on the hot tray, but I had to be careful, the chocolate melts immediately and I only wanted the edges to melt a little bit.
Then I put the letter inside one of the two halves and I created the globe by matching the two sides up. I had to make sure the countries were correct and I didn’t connect Turkey to Venezuela or the US to Africa!
I had a bit of chocolate that needed to be removed where the two halves came together. I gently did this with my finger. After that I put the globes in small plastic bags and finished off the packaging with a nice ribbon on which the baby’s name could go.
WELCOME BABY – ANNA!
Not long after, the baby arrived and the secret name was secret no more. Baby Anna was welcomed to the world by all our loving family and friends, each of whom enjoyed a gift of chocolate globes with a chocolate letter inside to mark her arrival.
Long weekends and evenings went into making the globes, but I enjoyed every bit of it and I am pretty sure Anna was happy too.


