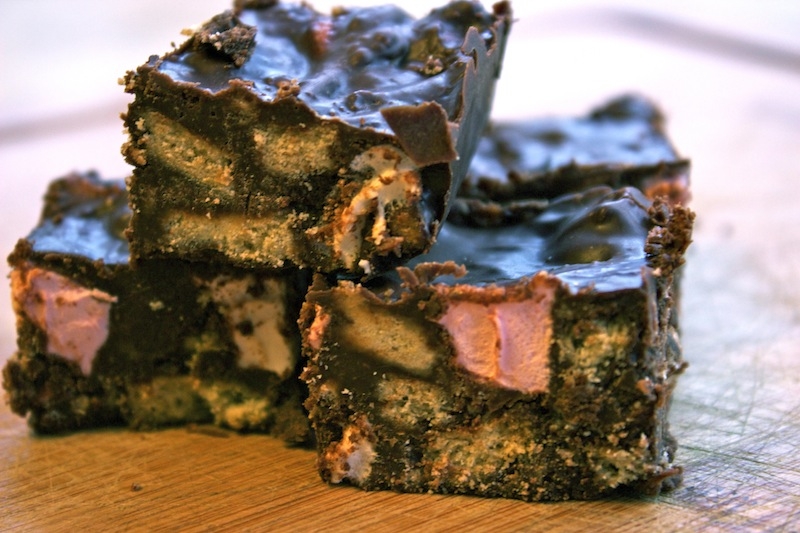
It’s crunchy, soft and chocolatey all at the same time. The beauty of having an easy recipe for Rocky Road means you can produce a delicious grab and go snack when you’re on the run or a decadent treat to be enjoyed over a cup of tea when you’re catching up with friends.
The inspiration for this recipe for Rocky Road comes not from Belgium, where Rocky Road is still relatively unknown, but from Peru via Scotland.
The first time I tasted Rocky Road was in the city of Pisco where I was volunteering on an earthquake reconstruction project for three and a half months in 2010.
To stave off homesickness, I had my parents send over bars of Belgian chocolate. When it was all gone, I was deprived of quality chocolate treats so I went in search of something else.
Enter Amy, a Scottish volunteer who had a talent for making delicious and homely desserts. She produced a large portion of Rocky Road on one evening that somehow developed into an eating competition. I’m both completely embarrassed and strangely proud to say that I won that competition hands down, eating more Rocky Road than anyone else, including a number of rather large male volunteers.
Ever since then, I’ve tried a lot of different recipes for Rocky Road. I’ve experimented with Amy’s recipe by taking inspiration from various different sources – including Nigella Lawson, Jamie Oliver and BBC Food – and by using some interesting ingredients that I felt might add something extra.
Here’s what I came up with.
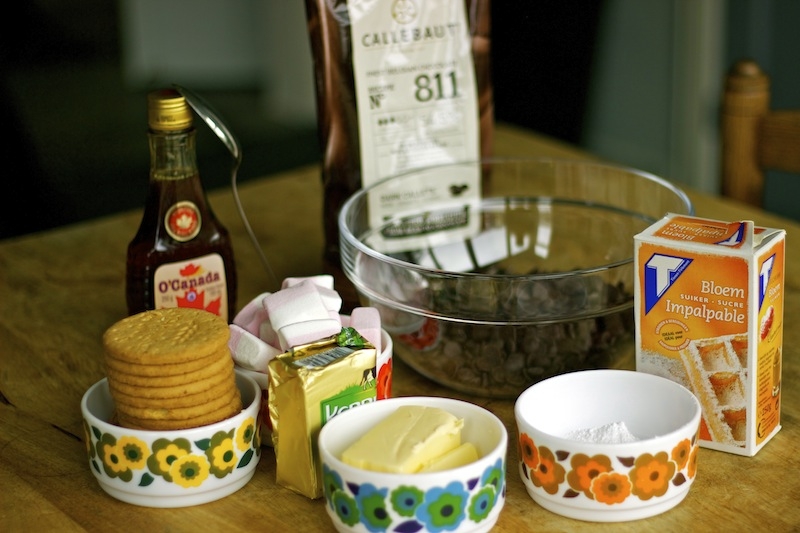
INGREDIENTS – WHAT YOU’LL NEED
→ 125g soft unsalted butter (Kerrygold)
→ 300-400g best-quality dark chocolate (Callebaut)
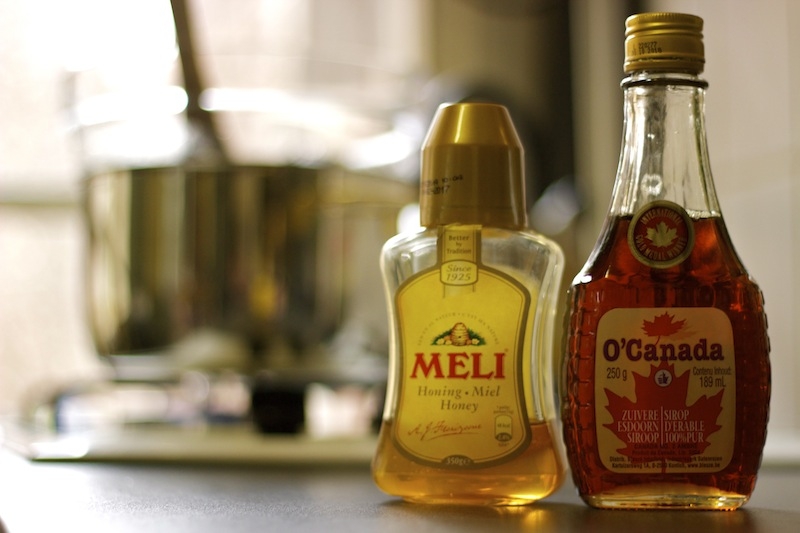
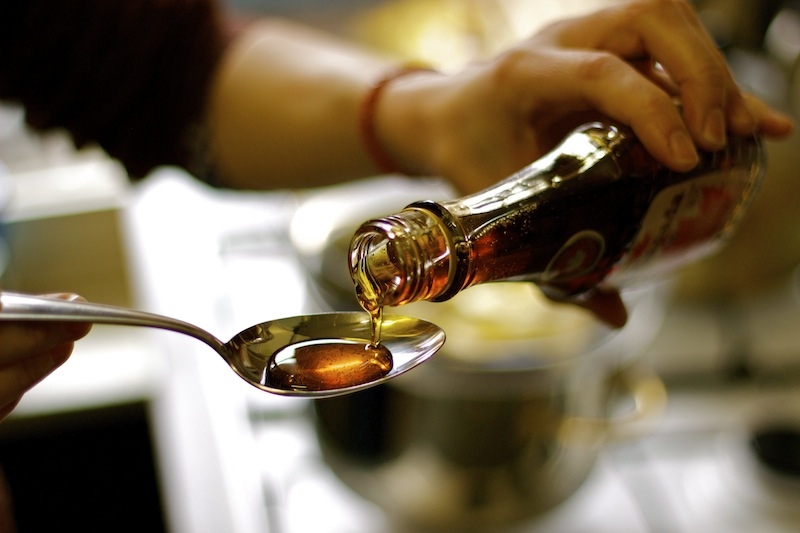
→ 2 tablespoons golden syrup / maple syrup / honey
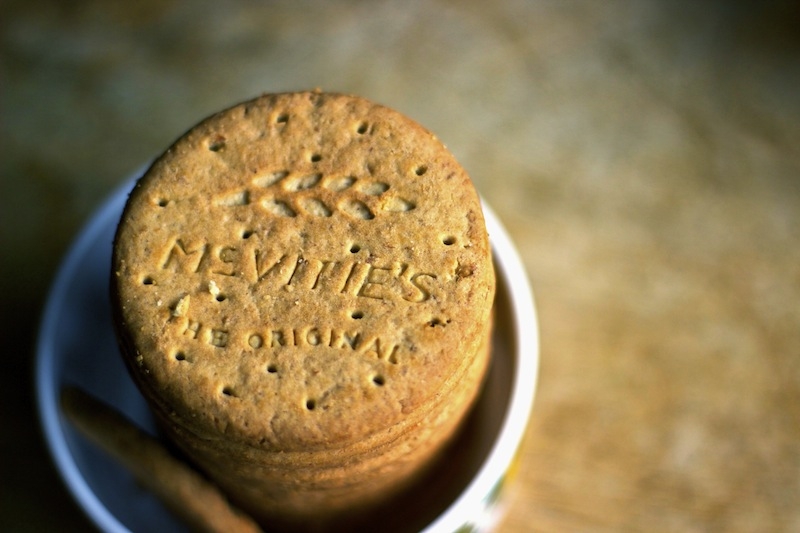
→ 200g digestive biscuits (McVities)
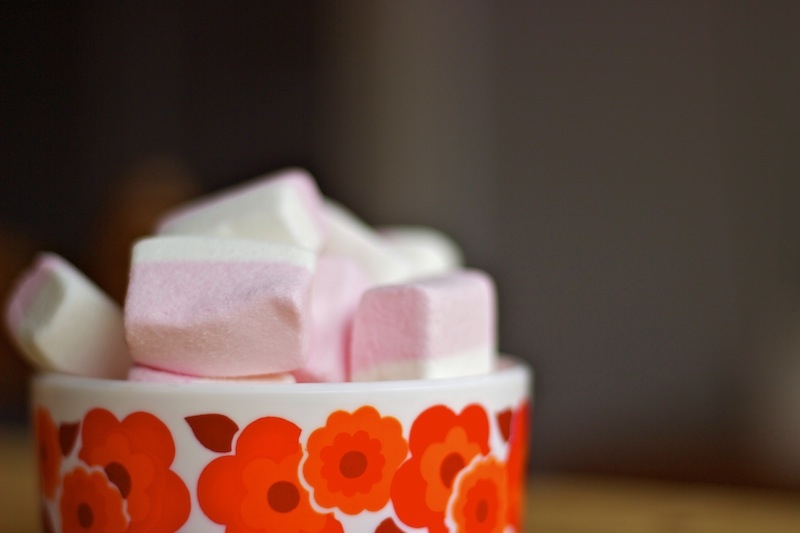
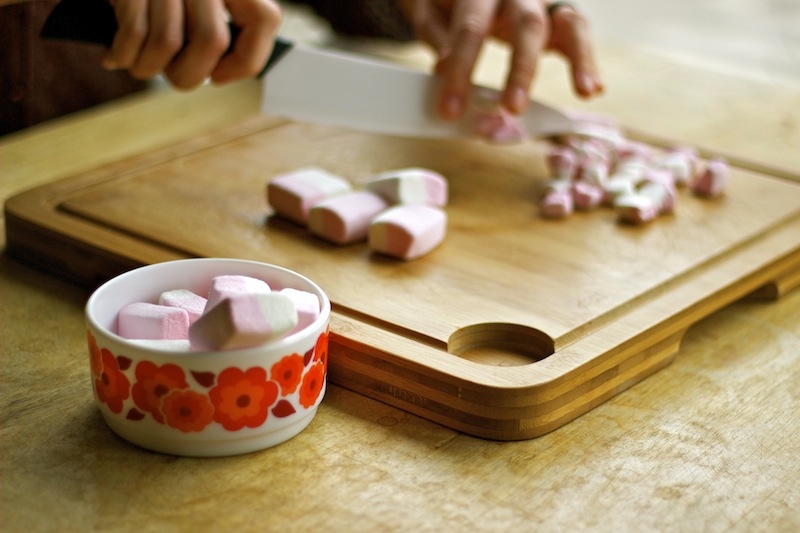
→ 100g marshmallows (minis or big ones cut up)
→ 2 tablespoons icing sugar (to dust when serving)
Feel free to play around with amounts depending on your taste. Experiment. Have fun!
7 STEP RECIPE FOR ROCKY ROAD
STEP 1. MELTDOWN: HEAT THE INGREDIENTS
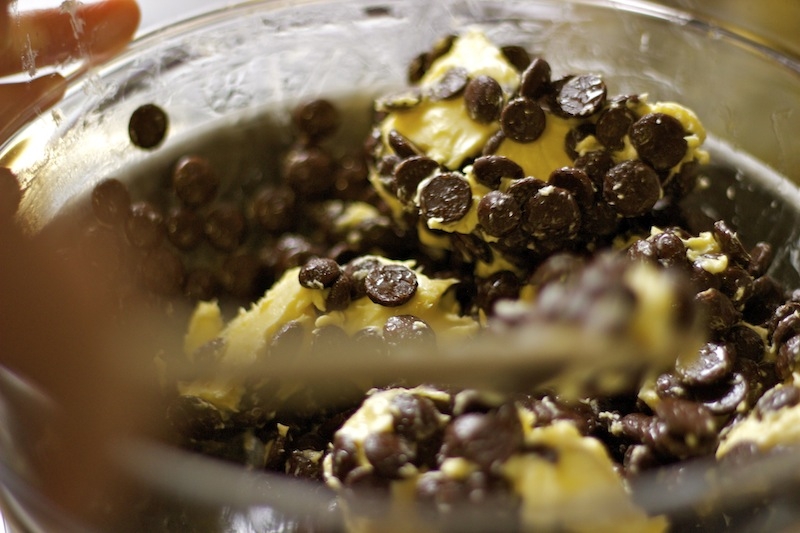
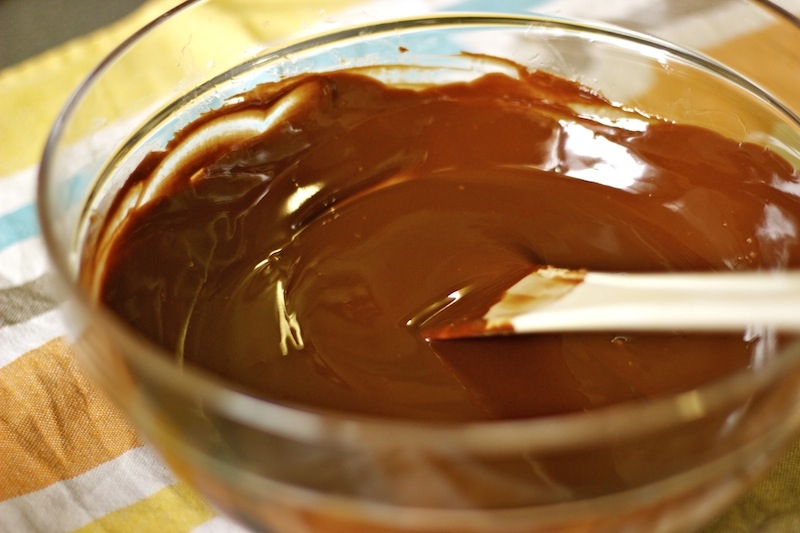
Melt the chocolate (drops or cut up bars), butter and syrup in a heatproof bowl which sits on a pot half-filled with water (au bain marie).
Let everything melt on a gentle heat and stir occasionally. Remove from the hob when the ingredients are nearly melted. You’ll want a smooth mixture so stir further to help to get the temperature down.
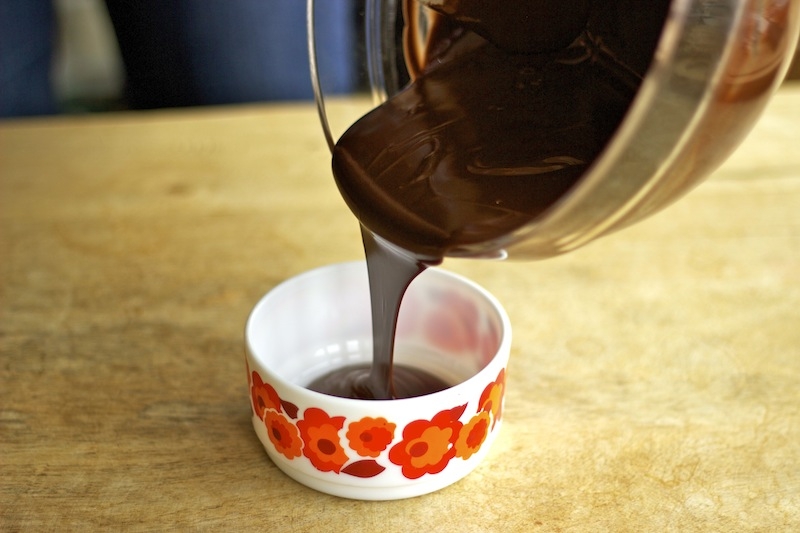
Pour a little bit of the melted mixture (125ml) into a second small bowl and put it aside to use at the end.
STEP 2. BREAKDOWN: CRUSH THE BISCUITS
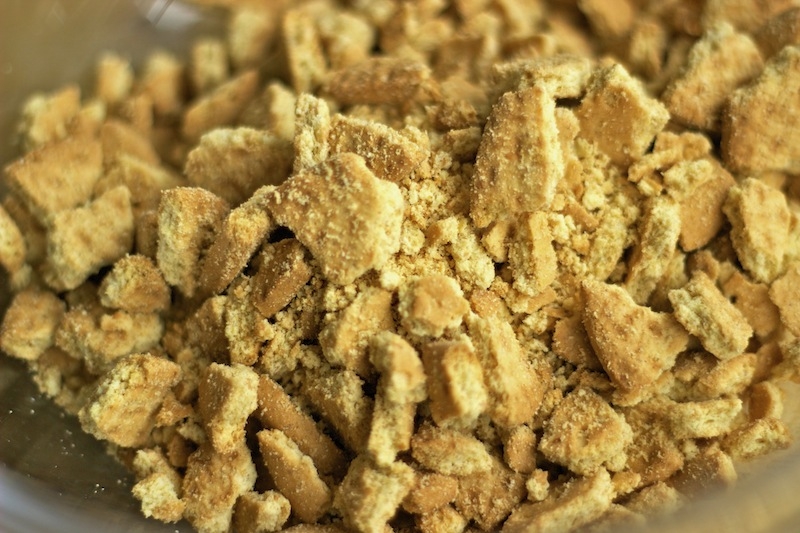
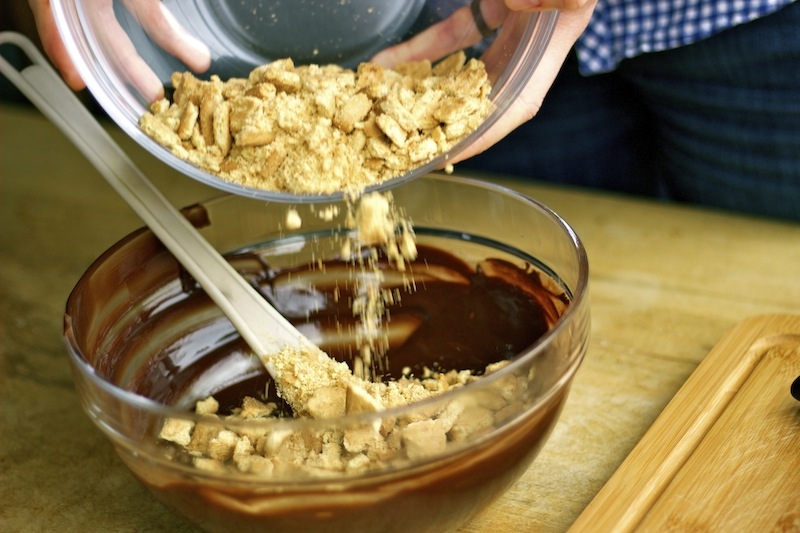
Wrap the biscuits in a clean tea towel or a freezing bag and break the biscuits. You can also just use your hands to do this.
It’s ok to have crumbs, but you also want rough pieces to add to the mixture. It is a Rocky Road, after all!
STEP 3: CUTDOWN – KNIFE THE MARSHMALLOWS
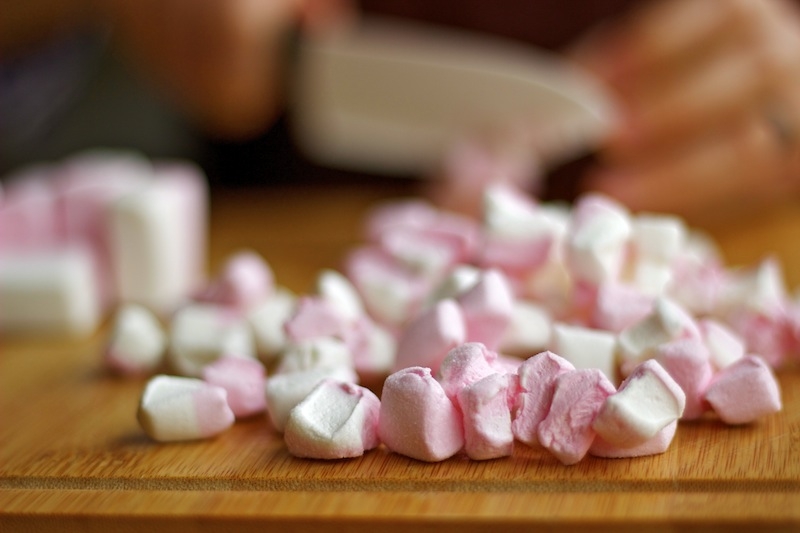
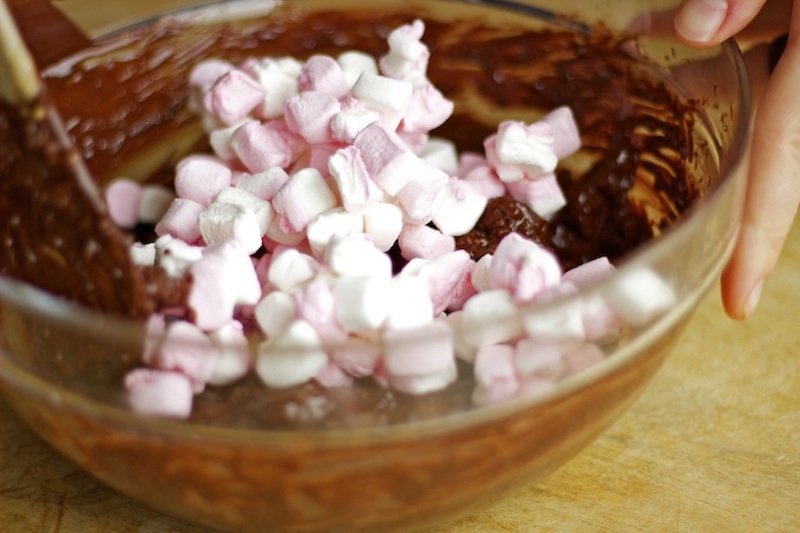
Cut up the marshmallows or prepare your mini marshmallows.
During this step you’ll have sticky fingers and an irresistible desire to throw a few sneaky pieces into your mouth. No one’s looking.
STEP 4: LOCKDOWN – MIX EVERYTHING TOGETHER
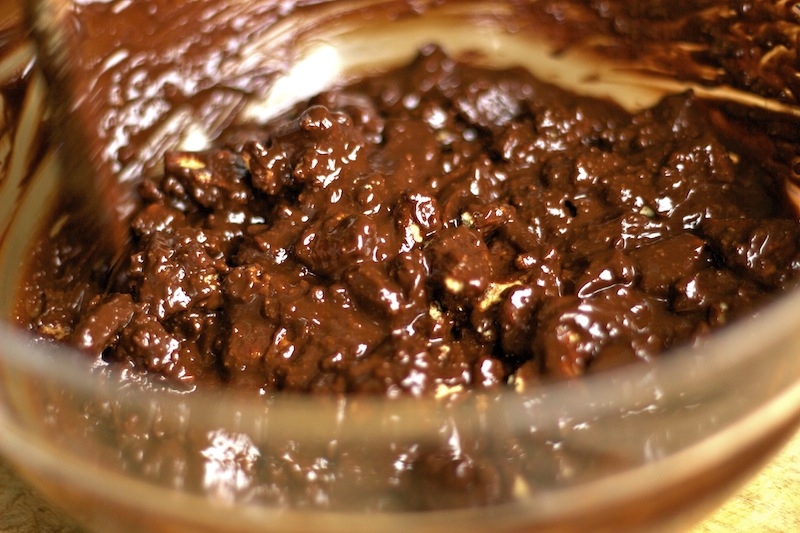
Mix everything together well so that the biscuits and marshmallows are completely covered in chocolate.
Here you can choose to add any other ingredients you’d like to use, such as dried fruits or nuts.
STEP 5: COUNTDOWN – GET IT ALL INTO A BAKING TIN
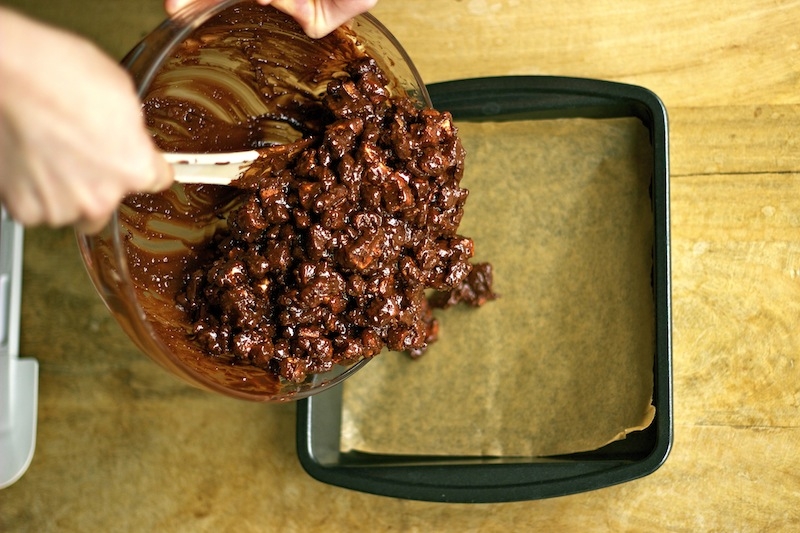
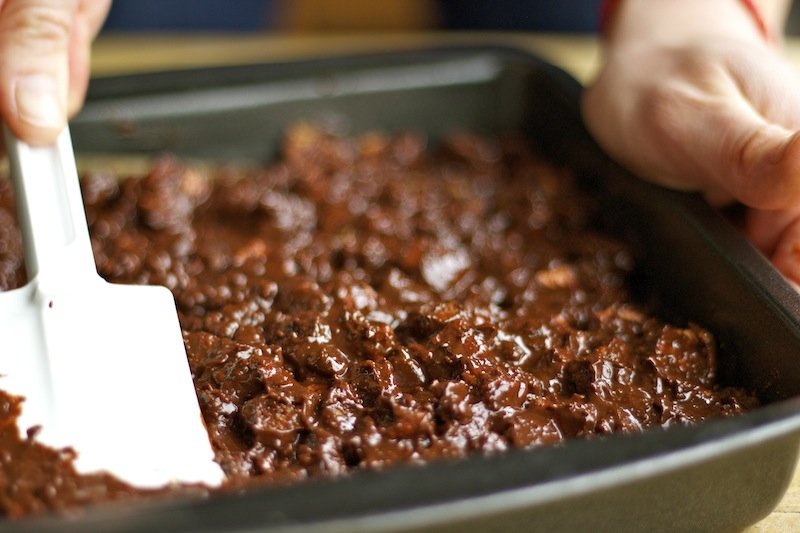
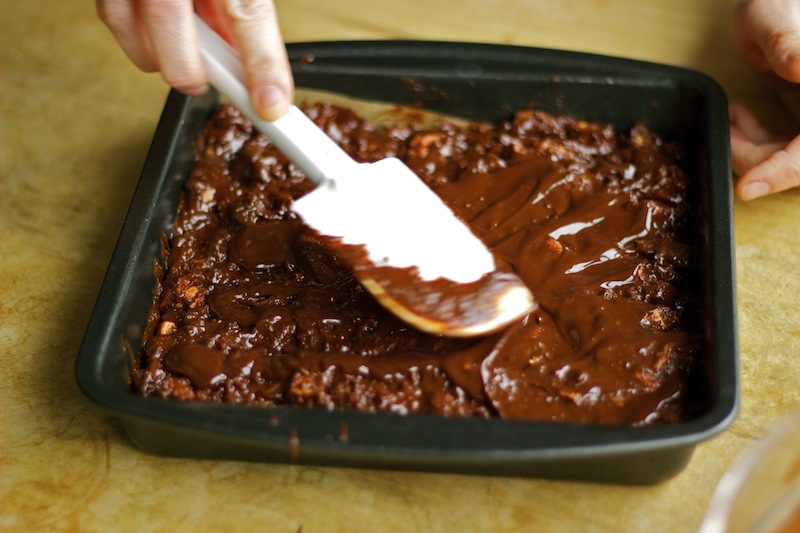
Pour the mix into a square baking tin covered with some baking paper and press down with a spatula.
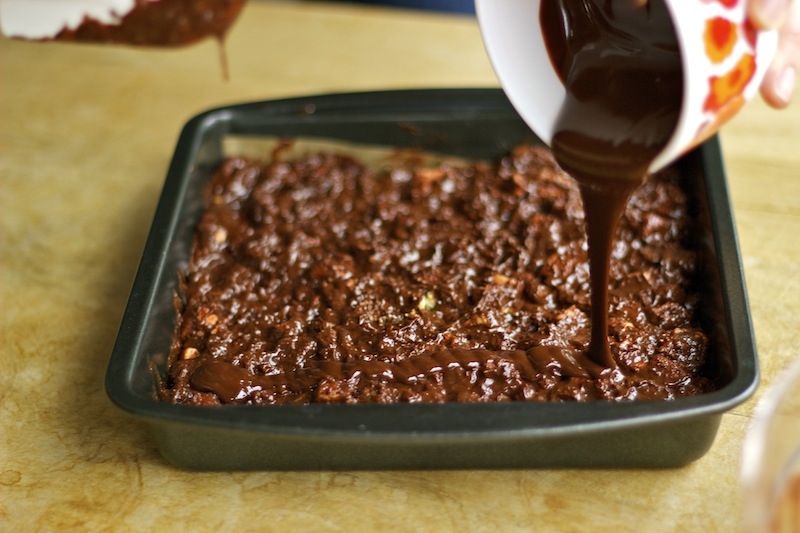
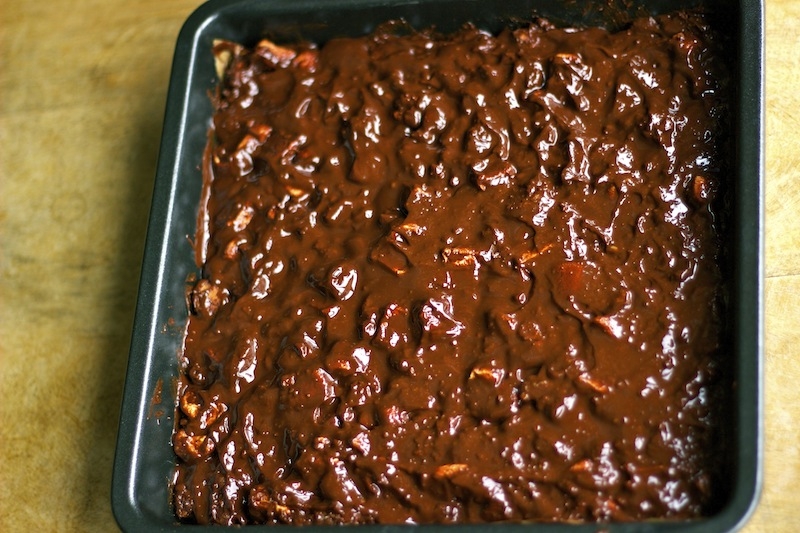
Add the remaining chocolate and butter mix that you set aside earlier and evenly spread over the tin. That way you get a crunchy chocolate top.
STEP 6: SETDOWN – PUT IT IN THE FRIDGE FOR TWO HOURS
Put the baking tin in the fridge and let it set for at least two hours.
In the meantime, make yourself a cup of tea and get in the mood for tasting.
STEP 7: TOUCHDOWN – CUT AND SERVE
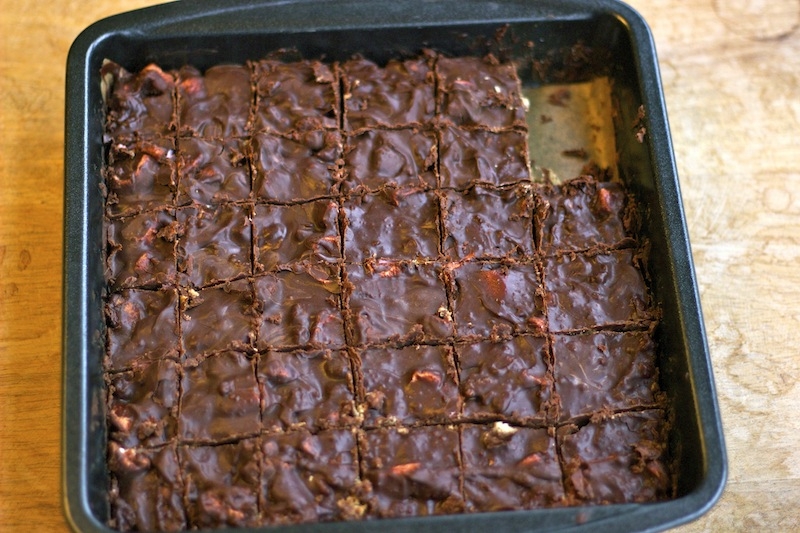
Cut it up in small pieces or bars and serve with some icing sugar. I hope you enjoy and you try it out yourself some day. As you can see it is really easy and fun to make!


